
One of the great advantages of Windows 10 is that it is a tremendously light operating system, which allows us to install it on a large number of computers, even somewhat old ones. The problem can come when we start to run out of space, something that we are not fooled about, it can also happen to us on a newly purchased computer. And is that every time we store more things on our computers, most of them with little or no use.
We know that there are many ways to free up space in Windows 10, but today we are going to show you one that you may not have known about. Get comfortable and take notes because today we are going to tell you how to free up space in Windows 10 by moving your apps to an external drive.
At first it may be strange to think of moving the applications we use on a daily basis to an external hard drive, but it is a widely used option and one that many people take advantage of. The normal thing is to use a hard disk to store images or videos that we have on our computer, but if you are very limited in space, you may have to make the decision to move your applications to an external drive.
For this it will serve us with a pendrive, a hard drive and even an SD card. Of course, before starting you should know that any external support that you are going to use you will need to format it as NTFS.
How to move Windows 10 apps to another drive
Moving Windows 10 applications to an external drive is not too complicated, although first of all we must have in terms, as you were probably thinking, that not all applications can be moved to another unit. To check if you can move it, We must open the Settings menu by pressing Windows + I and selecting Applications.
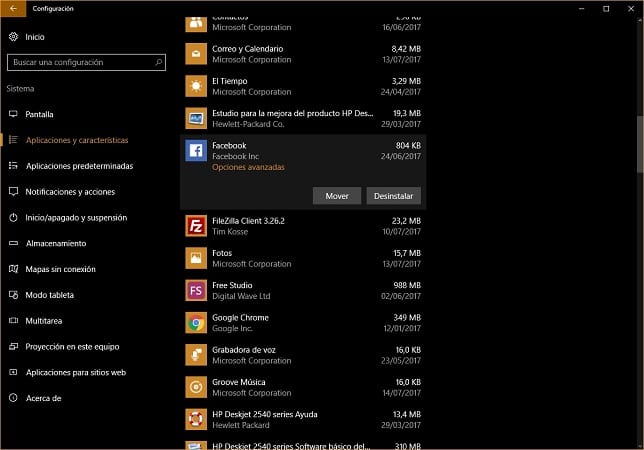
In the list of applications that appears, select the one you want to move, and if it is you can change the unit, the appropriate button will appear available.
Another interesting option is the Directly install the applications on a different unit than the one we usually install them, either internal or external. To do this you must go to System, and in the right menu open Storage. Now you should Change the storage location of the new content and click on it.