
Surely on some occasion it has happened to you, that while you use the headphones while playing or watching a movie, and skip the Windows 10 "high volume" prompt. While it is important that it is present, to avoid misuse, it can be annoying. Fortunately, users who want to can have this notice removed. Thus, it will not appear on the screen again.
Although it must be said that the steps we have to carry out to eliminate this warning in Windows 10 are somewhat extreme. Because we have to proceed to remove RealTek audio controls. But it is the effective and only way to remove this notice.
There may be users who really want to end this ad. Therefore, these steps will surely help you to forget about this high volume message that appears on your computer. What do we have to do in this case?
Remove high volume warning in Windows 10
The first thing we are going to have to do is remove RealTek controls. Therefore, we will have to go back to the Windows 10 audio drivers on the computer. In this way we will be able to permanently forget this annoying message that appears on the screen. As we have said, it is about eliminating them completely, permanently. So this is an important decision, not to be taken lightly.
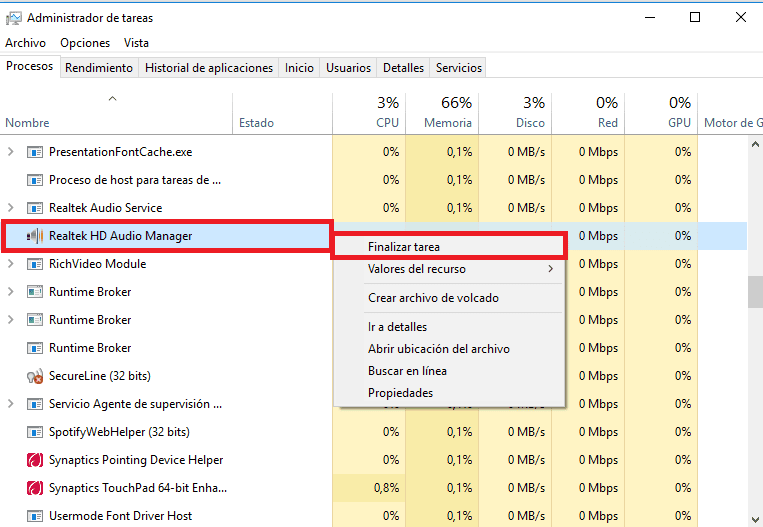
We have to go to the task manager first. There, we must close all open RealTek processes. It is Realtek HD Audio Manager, so when we find it, we click with the right mouse button and finish the task.
Once we have done this, we have to click with the right mouse button on the Windows start button. We will get some options, of which we must select the device manager. When we are there, we must click on the arrow for sound and video drivers and we will see that Realtek comes out. We right click on this option.

Then, we select the option to uninstall device. We will then get a pop-up window in which we must also select the Delete the driver software for this device box. In this way we remove everything related to Realtek from Windows 10.
When we have done this, we must go to the folder C \ program files and there you have to look for the Realtek folder. We enter the properties of this folder, by right clicking on it. In these properties you will see that you get an edit button, like the one you see in the image. We must click on it and then select "System" and it is necessary that we mark all the deny boxes that come out.
The reason we are doing this step is to prevent Realtek from being reinstalled in Windows 10. Since if you don't, it will most likely be reinstalled, making the process that we are carrying out so far useless.
Change drivers
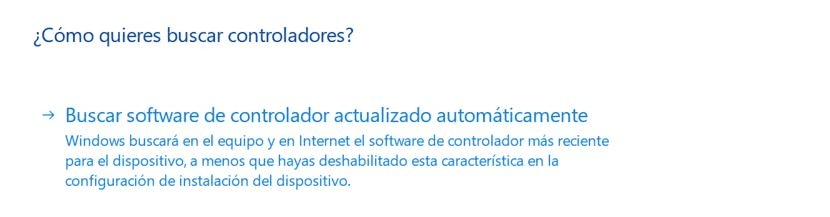
If we have already done these steps, it is time to restart the computer. In this way, the changes we have made so far will be saved and then Realtek will have completely disappeared from the system. When we access the computer again, it is time to update the drivers.
Surely we will get an icon with a yellow triangle that informs us of the need to update the sound drivers in Windows 10. When this happens, we must select the Windows drivers: High Definition Audio Drivers. In this way everything will work perfectly on the computer.
And with these steps, the whole process would come to an end. Thus, the high volume warning will become part of the past and will not bother us again. It is a somewhat long process, although it is not complicated, but as you can see, it is somewhat extreme, because we have completely eliminated Realtek from our computer.