
First released in 1995, Apache is a completely free, cross-platform, open source web server that is already used by nearly half of the world's websites. Although it works on different operating systems, in this post we are going to explain how Install Apache on Windows 10.
The Apache HTTP server, named after one of the most warlike Native American tribes, is very popular among programmers, especially for its modularity and the fact that it is constantly updated.
But it is also an option that is increasingly in demand by normal users. If we take into account that the essential function of the Apache server is to serve the webs hosted by the various browsers such as Chrome, Firefox, Safari, we can say that its main task is to maintain smooth and stable communication between web server and web client, that is, the user.
All this exchange of information is managed through the HTTP protocol. In addition, Apache offers us a high degree of customization thanks to its modular system. Although you have to be careful with these options, we have the possibility of activating some and deactivating others, according to our preferences.
Apache in Windows 10: Advantages and disadvantages
In general, installing an Apache server in Windows 10 will bring us many benefits, although other not so positive aspects must also be considered. This is a brief summary of the pros and cons:
Pros
- It's compatible with WordPress based websites and with almost all the CMS that exist in the market.
- It has a modular type structure, very flexible and versatile.
- Works on both Windows and Linux servers.
- Is open source (it has a large community of developers behind it) and totally free.
- For the same reasons as in the previous point, it is constantly updated, which means a security guarantee.
- Use .htaccess files, which facilitate work with the main CMS.
Cons
- In the case of websites with high traffic, performance may be affected.
- Incorrect use of the modules can lead to security breaches.
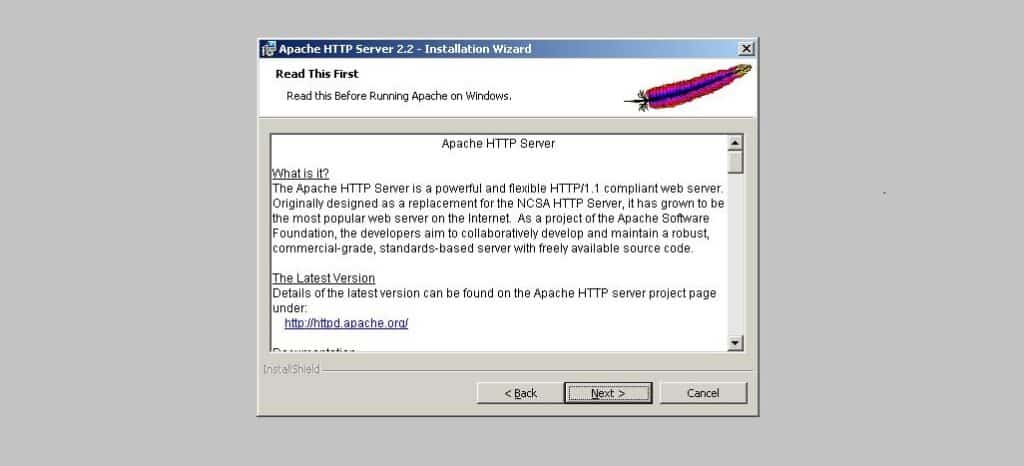
Install Apache in Windows 10 step by step
Having explained what Apache is and what sales it represents, let's see what are the steps to install Apache in Windows 10, as well as the most common obstacles we can encounter and how to solve them.
Previous requirements

Before proceeding with the installation, it is necessary to verify that our version of Windows has the Microsoft Visual C++ 2017 Redistributable Modules. These are required for Apache to work. Normally in Windows 10 this is not a problem, but still, it is better to check it like this:
- We go to the start menu and look for the Control Panel.
- Then we select «Programs».
- Within the menu that opens, we are going to "Program and Features".
- In the list that is displayed, the components that are needed for the installation of the Apache server will appear (see image above, in the red box).
If we do not have these modules, we can download them from this link and install them on our computer. For 32-bit systems you have to download the version (X86).
Another important task that we must do is to make sure that we have in our team a available port for Apache. Normally, port 80 is the one that is assigned to the servers. That is the one that must be left free to be used by Apache. To make sure it's free, we'll do the following:
- In the Windows menu, we type powershell.
- Next, in the console we enter the following text: Test-NetConnection localhost -Port 80
- finally on the line TcpTestSucceeded we will receive the answer:
- True if port 80 is already busy.
- False if port 80 is available.
Apache configuration
Once the requirements are met, we can download and install Apache on Windows 10. The next thing to do is modify the configuration file to tell you the correct port. If, as we mentioned in the previous example, that port is 80 and it does not appear as a default option, we will proceed as follows:
- First of all, we open the folder c:\apache24\conf
- There we edit the file marked as httpd.conf (you can use Notepad, for example).
- In the line where it reads "Listen XX" we change those numbers ("XX") to 80, which is the selected port.
- Finally, in the line where it says ServerName localhost:XX we do the same
run apache
With everything ready, this is how we will be able to run apache on windows 10 manually:
- First we access the folder c:\Apache24\bin
- Then we double click on the file httpd.exe
If we want Apache to run automatically, we will have to install it as a windows service. In this way, it will be executed every time we start the operating system. This method has other advantages, such as increased security levels by being integrated into Windows. This is how we should do it:
- In the Windows menu we write cmd.
- We execute cmd with administrator rights.
- Next, we open the folder \apache\bin: cd c:\apache24\bin
- We install the service with the following command: httpd.exe -k install
- Finally, we start Apache with the command httpd.exe -k start