
In this article we are going to show you where are screenshots saved in windows 10 and Windows 11. In this way, you will be able to locate them quickly without having to search for them on the computer. But first of all, you knowHow to take screenshots?
If not, in this article, in addition to showing you where screenshots are saved in Windows 10, we are also going to show you all the possible ways to take screenshots (and they are not few).
How to take screenshots in Windows
Windows puts at our disposal up to 5 different methods to take screenshots. Not all of them allow us to make the same type of screenshot.
While some are focused on allowing us to take screenshots of the entire screen, others allow us to capture a part of the screen or draw a specific shape.
Next, I will show you the 5 methods available to take screenshots in Windows 10 and Windows 11.
Windows key + Print Screen
If you want to take screenshots of all the content displayed on all the monitors you have connected to your computer, the fastest method to do this is with the Windows Key + Print Screen keys.
If we use two monitors or an external monitor connected to our laptop, it will also include the content of both desktops in the capture.
Unlike the other methods, when taking the screenshot, automatically stored in the folder Images > Screenshots.
Alt + Print Screen

If you only want to take a screenshot of the foreground application, the best and fastest method is to use the Alt + Print Screen key combination.
The image will be stored on the clipboard. To avoid having to paste the images in the document where we want to use them, the best thing we can do is use the Clipboard History available from Windows 10.
To activate the clipboard history, we must perform the steps that I show you below:
- We access the Windows configuration options (Windows key + i).
- Next, click on System - Clipboard and activate the switch Clipboard history.
To access the clipboard history, we will use the key combination Windows + V (instead of Control + V).
This method is ideal for taking screenshots that we want to include in a document without having to edit them later due to the immediacy that it offers us.
Print Screen
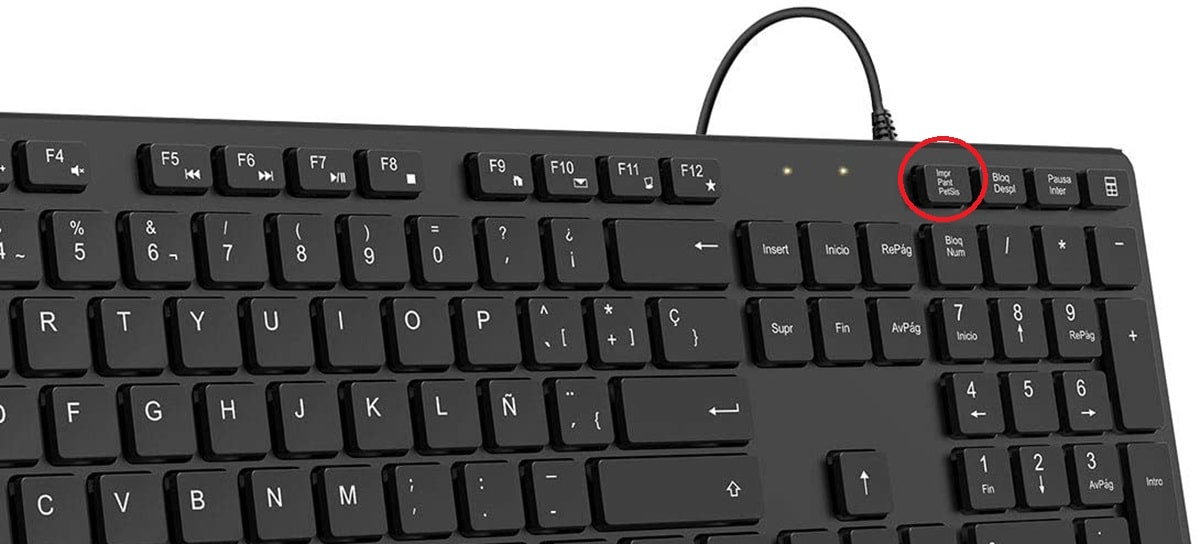
When pressing the Print Screen key, an image of the content of the monitor or monitors connected to our desktop or laptop computer is stored in the clipboard.
If we want to get the most out of it, it is advisable to previously activate the clipboard history.
In this way, we can take different screenshots and store them in the content of the device to later paste them in the order we want or however we want.
Windows + Shift + s

If you want to take a screenshot of a part of the screen, without having to cut out a full screenshot, the key combination you should use is Windows + Shift + s.
By pressing this key combination, the screen will darken and a bar with 5 options will be displayed at the top:
- Rectangular
- Free form
- Active window
- Full Screen
Rectangular cutout
When clicking on this mode, the mouse cursor will be shown in the form of a crosshair, with which we have to delimit which area of the screen, in rectangular form, we want to capture.
Once we have taken the screenshot, we must click on the notification that is shown in the Notification Center to save it on our computer.
If we make another capture without previously saving the previous one, the first one will be automatically deleted.
Freeform clipping
This method allows us to trace the shape we want to capture from the screen. As in the previous method, when the capture has been made, a notification will be displayed in the Notification Center on which we must click to save it on our computer.
Crop active window
The active window clipping method performs the same function as the Alt + PrtScn key combination. But, unlike this one, we can click on the mouse to select the application we want to take the screenshot of.
Once the image of the application has been captured, we must click on the notification that is displayed in the Notification Center to save it on our computer.
crop full screen
As its name describes, this method allows us to take a screenshot of our desktop, not of all the monitors that we have connected to the computer.
To save the image, click on the notification available in the Notification Center.
Snipping Tool
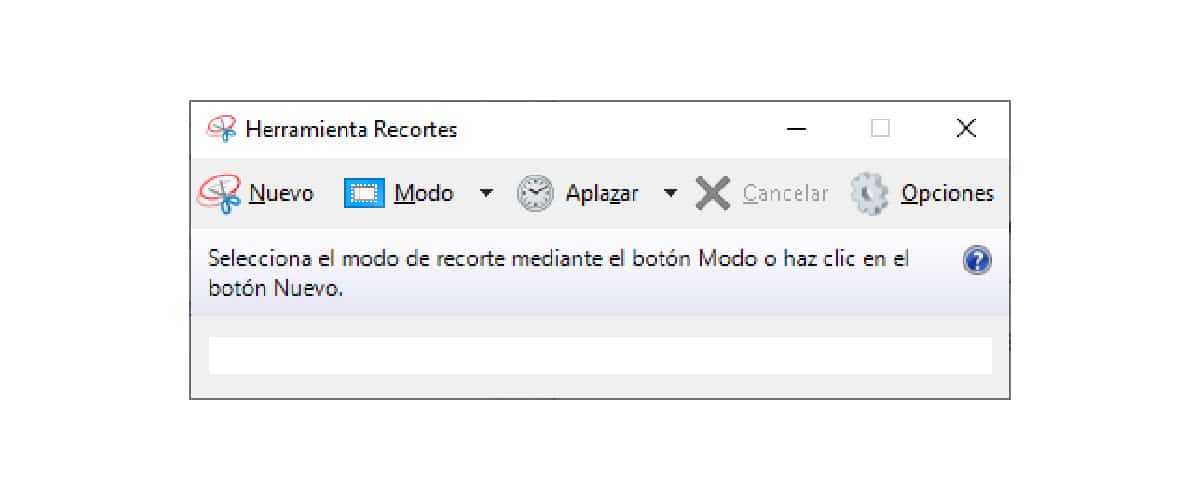
The Snipping tool, which we can access by typing the name Snipping in the Windows search bar, offers us the same 4 methods as the Windows + Shift + s key combination.
But, in addition, it allows us to program a countdown to take the screenshot of an active application or the full screen through the Defer option.
Once we have made the capture, the application will open and invite us to save it on our computer.
Other methods
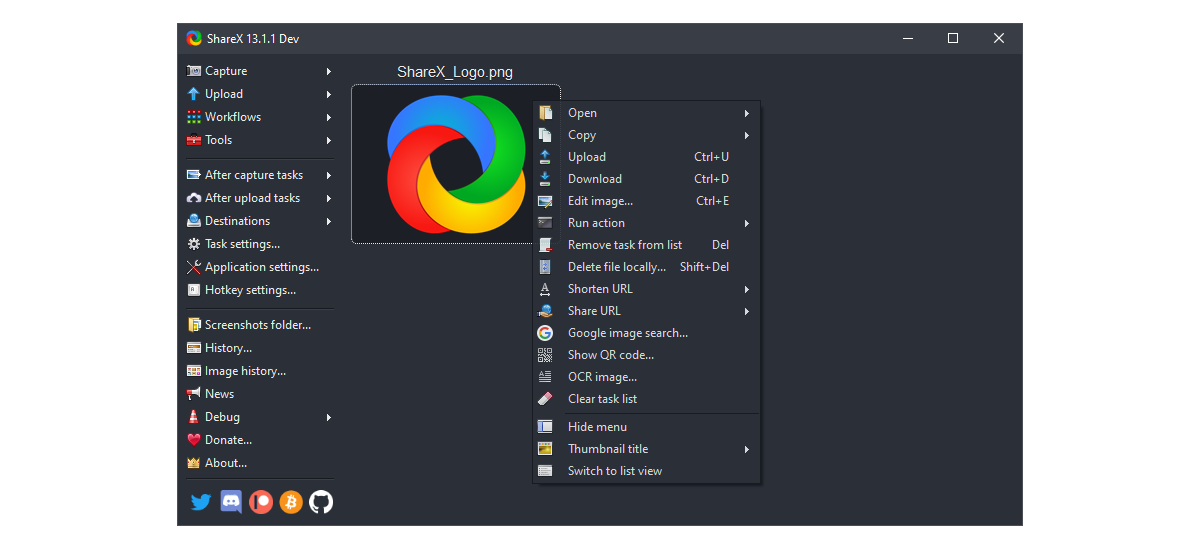
If none of the methods offered by Windows to take screenshots meet your needs, you should take a look at ShareX.
Share X is an open source and completely free application that allows us to take and work with screenshots as if our lives depended on it.
Where are screenshots saved in Windows 10
Windows key + Print Screen
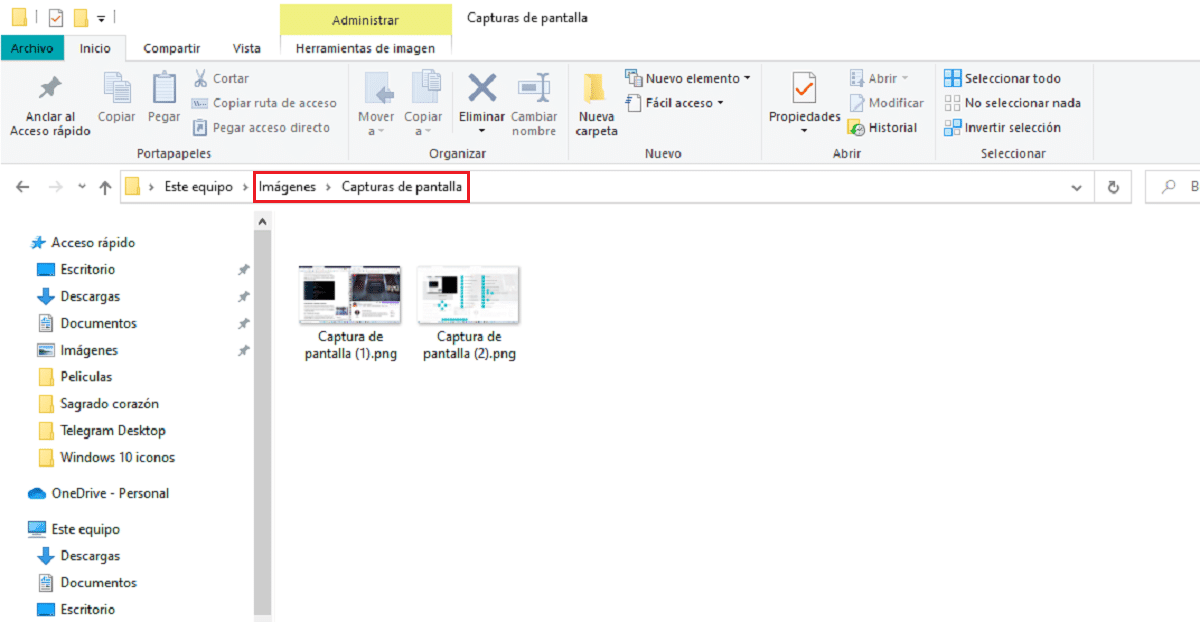
By using the Windows + Print Screen key combination, all screenshots will automatically be stored inside the Pictures > Screenshots folder.
If we want to change the path where they are stored, we must perform these steps.
- We go to the folder Images.
- Next, select the folder Screenshots, right-click to select the option Properties.
- Next, click on the tab Location.
- Click on search destination and select the new directory where we want the screenshots to be saved.
Alt + Print Screen
The images that are captured with this combination of keys are stored in the clipboard of our computer.
Print Screen
The images that are captured with this combination of keys are stored in the clipboard of our computer.
Windows + Shift + s
Once we have made the capture, we must click on the notification that shows a thumbnail of the capture and save it in the directory that we want.
Snip Tool
When capturing, the captured image will automatically open, an image that we must store in the directory that we want.