
All Windows 10 users have the choice of several power plans that come by default in the computer. We have three options in this regard. But it is possible that for users these plans do not fit what they need. Luckily, we have the ability to create our own power plan in the operating system. One that fits what we need.
So, we can configure aspects in this power plan such as the time it will take for the screen to turn off when we are not using the computer, brightness level, behavior of the on and off buttons, and much more. Everything you need to have this power plan that fits our use of Windows 10.
The steps we have to carry out are not complicated. So it doesn't matter if you don't have much experience in this type of action. Creating a custom power plan for Windows 10 is much easier than many users think. This is what needs to be done:
Create Personal Power Planzado in Windows 10
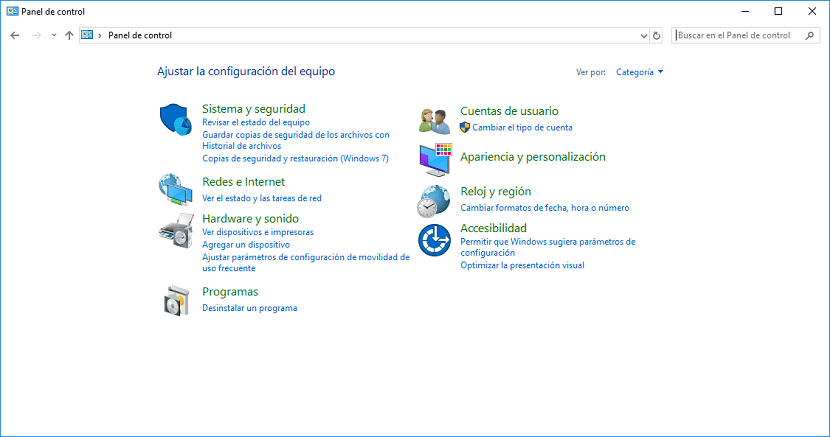
We have to go to the control panel first. To do this, we enter the control panel in the search bar that we have on the taskbar, and then this option will appear. When we are already in this control panel, we have to go to the hardware and sound section. In there is where we find the section that refers to energy options. Therefore, we click on it.
Once inside, we have to look at the menu that appears on the left panel of the screen. There we go to find with an option called "create a power plan", which is what interests us in this case. Therefore, we click on it. What will happen next is that a new window will open on the screen, where we have an assistant.
It is about the assistant that will help create this custom power plan for Windows 10. The first thing we have to do is give the plan a name. We can assign it the name we want, which is comfortable for you. We then click on the next button that appears at the end of said wizard.

We go to a new screen, in which we already have the first plan configuration options. In this case we configure the sleep mode and the screen. We can then choose the time we want to pass for the screen to turn off in case we are not using the computer. Also the time that we want to pass until it enters said sleep mode, in order to save battery. In this case, we select the option that is most comfortable for us at all times. Since it depends on the use and preferences of each user.
We also find the ability to adjust screen brightness we want for our power plan for Windows 10. Once we have configured everything to our liking, we have to click the create button. After a few seconds, it will be real, and we have created our own power plan for the computer. Although we can still configure more aspects.
Having created it, we return to the page where the energy plans are. The one we have created will come out. We click on the option "Change plan settings" that comes out with our power plan. Upon entering, we must click on the option called "Change advanced power settings." Here we will be able to configure various aspects of it.
Thus, we configure additional details of this custom power plan that we have created for Windows 10. Once everything is configured to our liking, we simply have to give it to accept and we can exit. Then, we must select the plan as the one we want to use on the computer. With these steps, everything will be ready.