
If we remember the update processes that Microsoft has led since Windows 7, the results have always been hampered by many unforeseen issues related to compatibility. Although many problems were mitigated until the arrival of Windows 10, Windows 11 requirements were a real headache with the TPM 2.0 issue. This seemed to leave out a huge sector of users, however, solutions are always found and that is why we will teach you how to install Windows 11 on an unsupported PC.
This possibility was opened by Microsoft itself, which on its official site talks about 4 ways to install its new operating system, where 3 of them are dedicated to non-compatible computers.
What happens when I install Windows 11 on an unsupported PC?
After 9 months of having released the new Microsoft operating system and officially opening the door to jump the installation obstacles, various performance problems have been reported. Nevertheless, the system has managed to boot, so it's worth it for those who want to test. However, we must point out that when talking about installing Windows 11 on an unsupported computer, it refers to TPM module issues.
If your computer is not compatible in aspects such as the processor or the amount of memory and storage available, you will not be able to install Windows 11 or else its performance will be problematic. In that sense, take into account that Windows 11 needs at least:
- Processor with 2 or more 64-bit cores.
- 4GB of RAM.
- 64GB of storage.
- UEFI with Secure Boot.
Ways to Install Windows 11 on Unsupported PC
As we mentioned at the beginning, Microsoft talks about 3 ways to install Windows 11 on an unsupported PC and here we are going to detail them for you to do it easily. We recommend carrying out these processes in test environments and not in production, that is, on computers that are operating for certain functions, such as your personal or work computer. For these cases, if they use Windows 10, it is best to wait to receive the notification through Windows Update.
Installation Wizard + Registry Editing
This option is basically to force upgrade from Windows 10 to Windows 11. The installation wizard is nothing more than the Microsoft software that takes us through the migration to the new operating system. However, this is done from Windows Update on supported computers. Despite this, it is possible to download it and run it on our computer to obtain Windows 11, although we must first edit the Windows Registry.
Through editing the registry, we will force the system to skip the checks regarding the TPM module (although you will need to have TPM 1.2 as a minimum) and CPU. However, it should be noted that an error in the edition could cost us the operation of the Windows installation that you have at the moment.
The first step will be to open the Windows Registry Editor and for this, press the Windows+R key combination, type Regedit in the pop-up window and press Enter.

This will immediately display the Registry Editor.
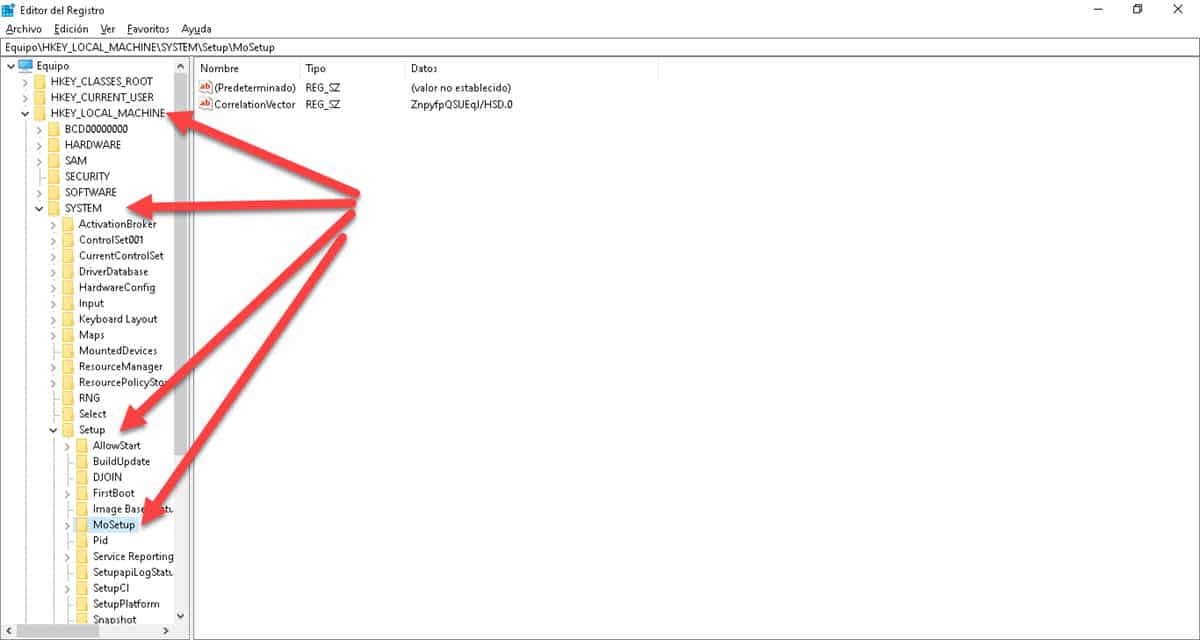
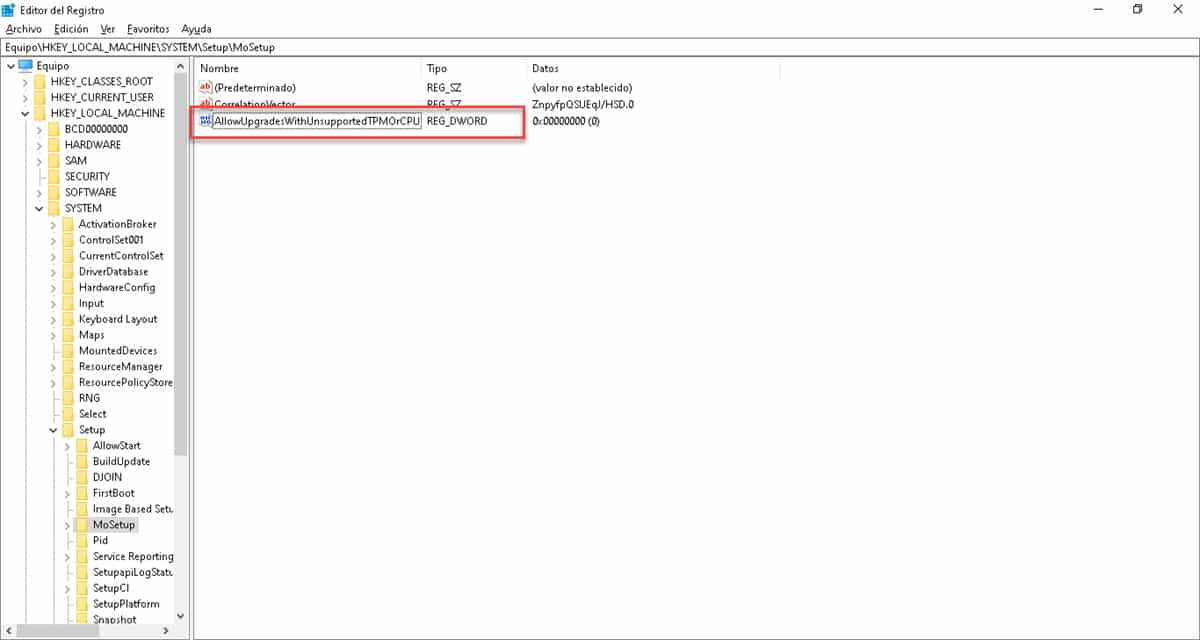
You will then need to follow the path to the following registry key:
HKEY_LOCAL_MACHINE \ SYSTEM \ Setup \ MoSetup
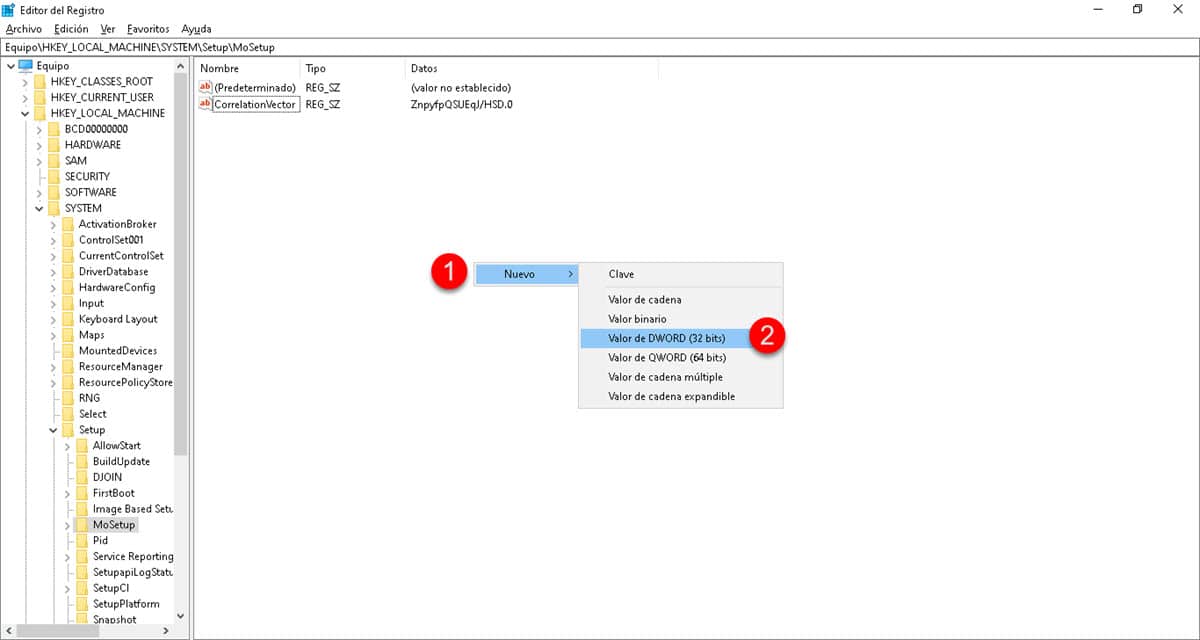
Once there, right click on an empty space on the right side of the window, select the “New” option and then click on “DWORD (32 Bit)”.
The name must be the following AllowUpgradesWithUnsupportedTPMOrCPU and Value 1.
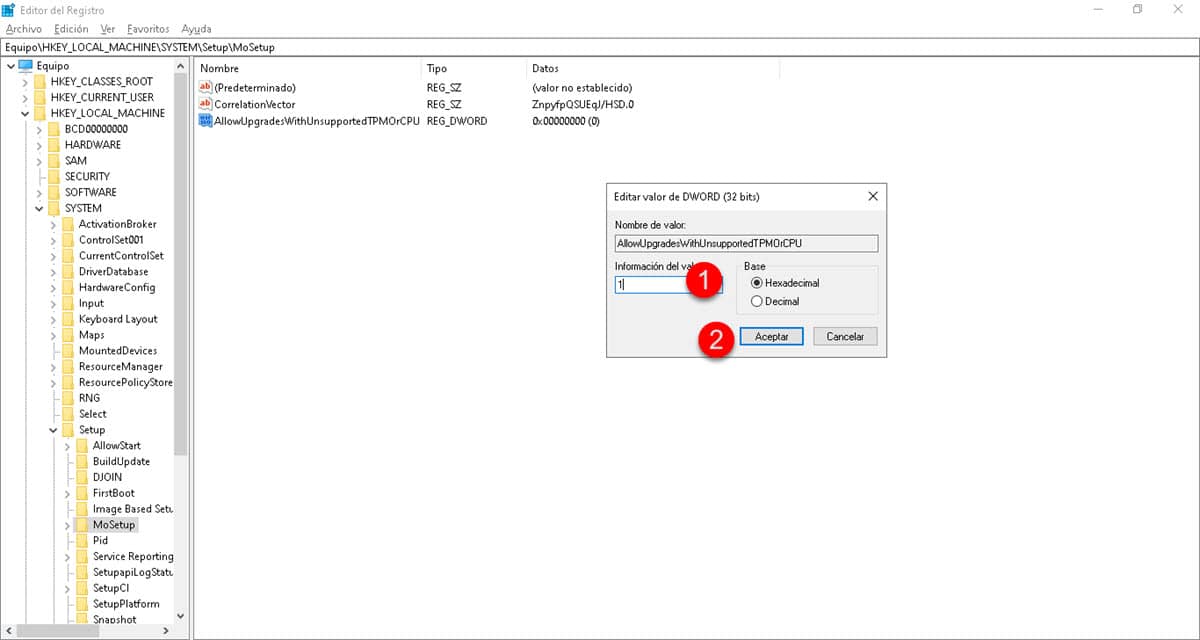
Upon completion, exit Registry Editor and then restart your computer.
Once these steps are complete, then proceed to download the Installation Wizard.

When running it, do it with administrator permissions, the computer will restart and the update process will begin. The advantage of doing the update from the wizard is that you will have the possibility to keep your files, instead of deleting everything and doing a fresh installation.
Creating a USB installation media
To install Windows 11 on an unsupported PC from USB media, the computer will need to have the TPM module in at least version 1.2. In addition, it is worth noting that with this mechanism, no checks regarding the CPU will be made, so you will not have to edit the registry.
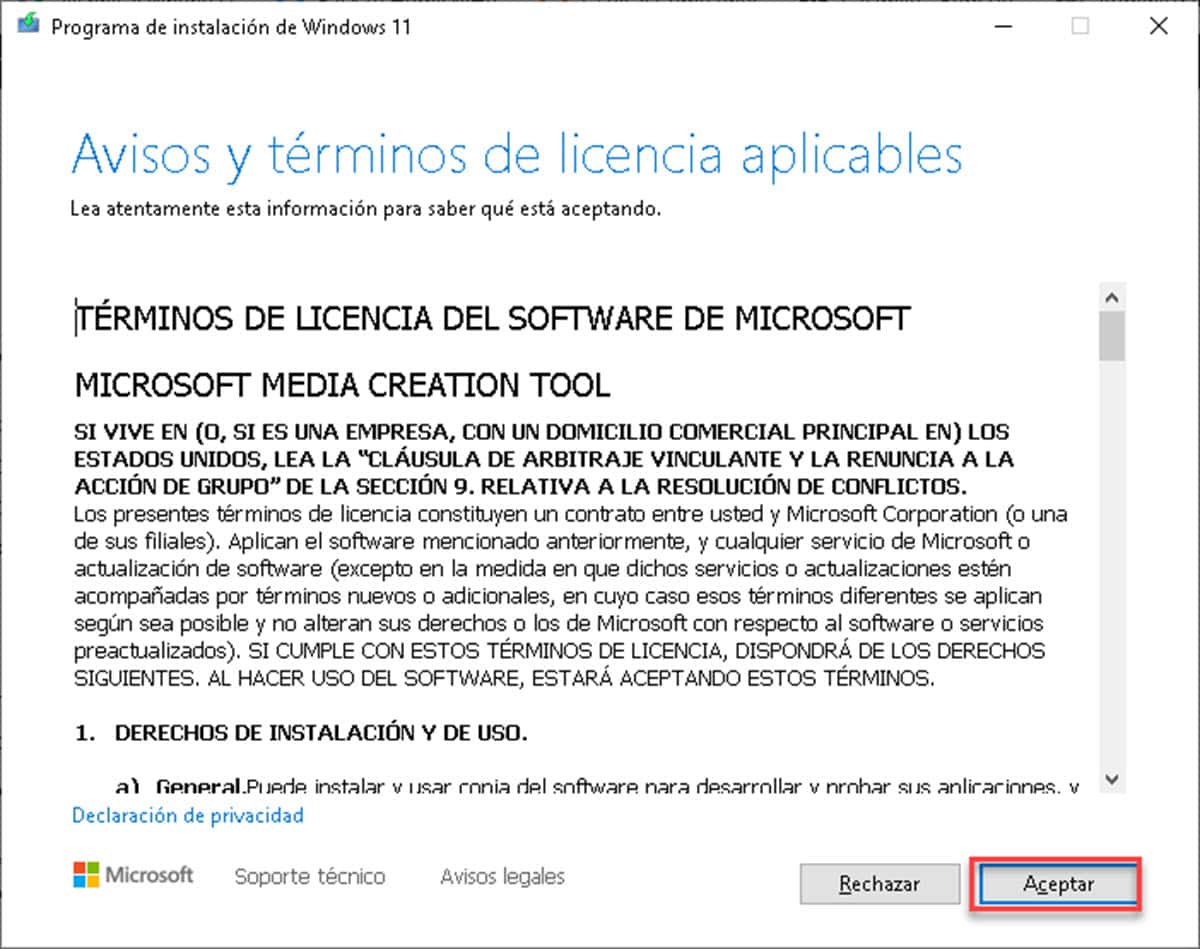
To start, follow this link and download the Windows 11 Creation Media tool. Once you have it on your PC, run it to display the media creation wizard.
Accept the terms and conditions.
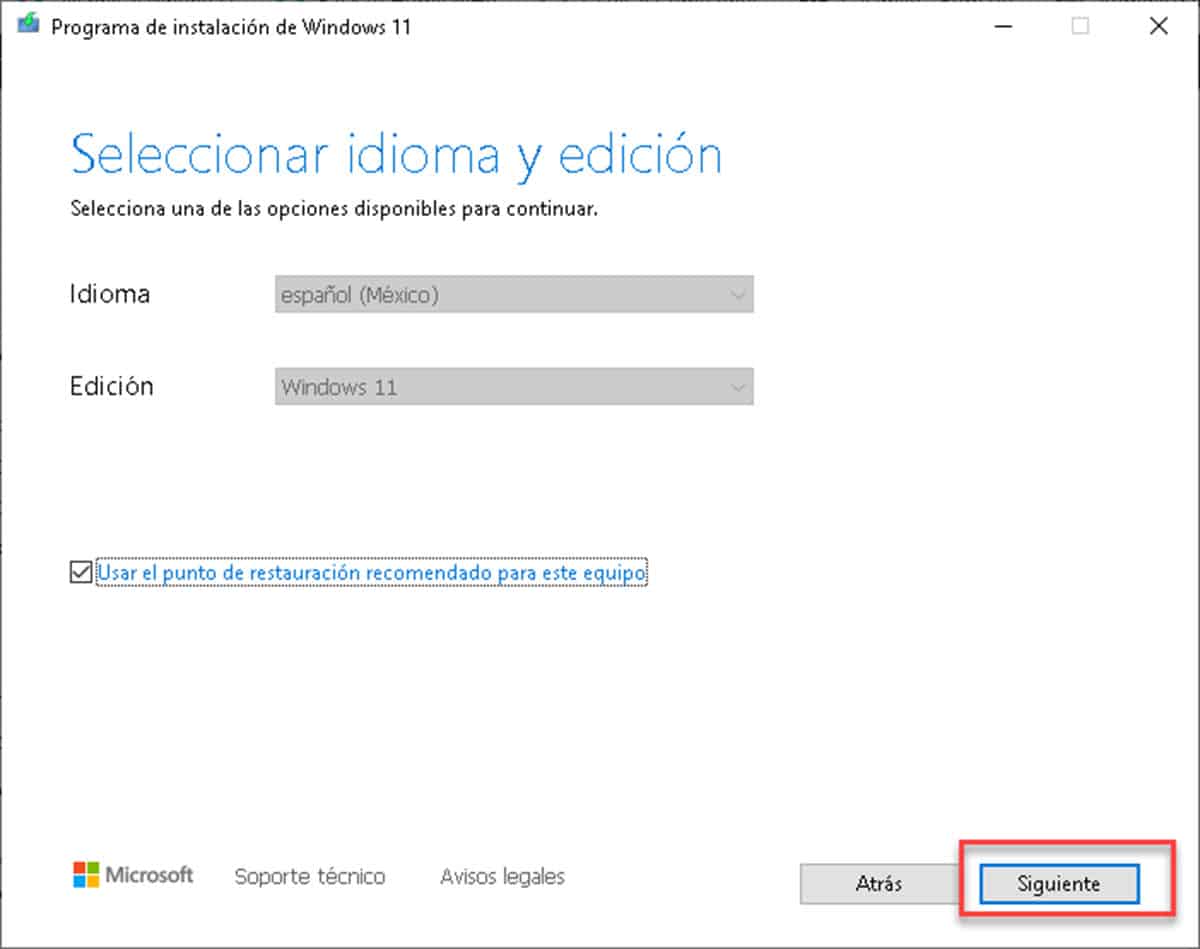
Confirm your language and keyboard language.
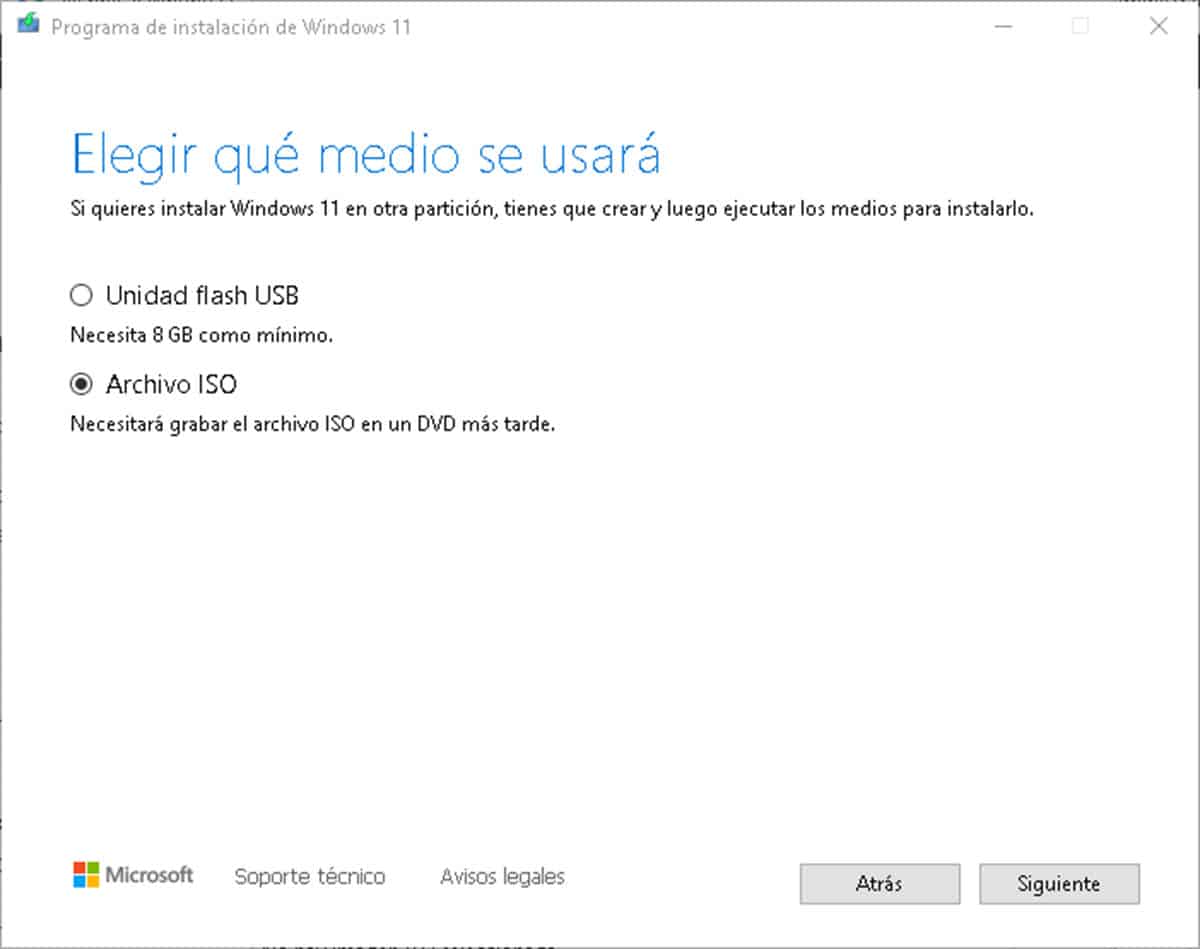
On the screen to choose which media to use, choose «usb flash drive«.
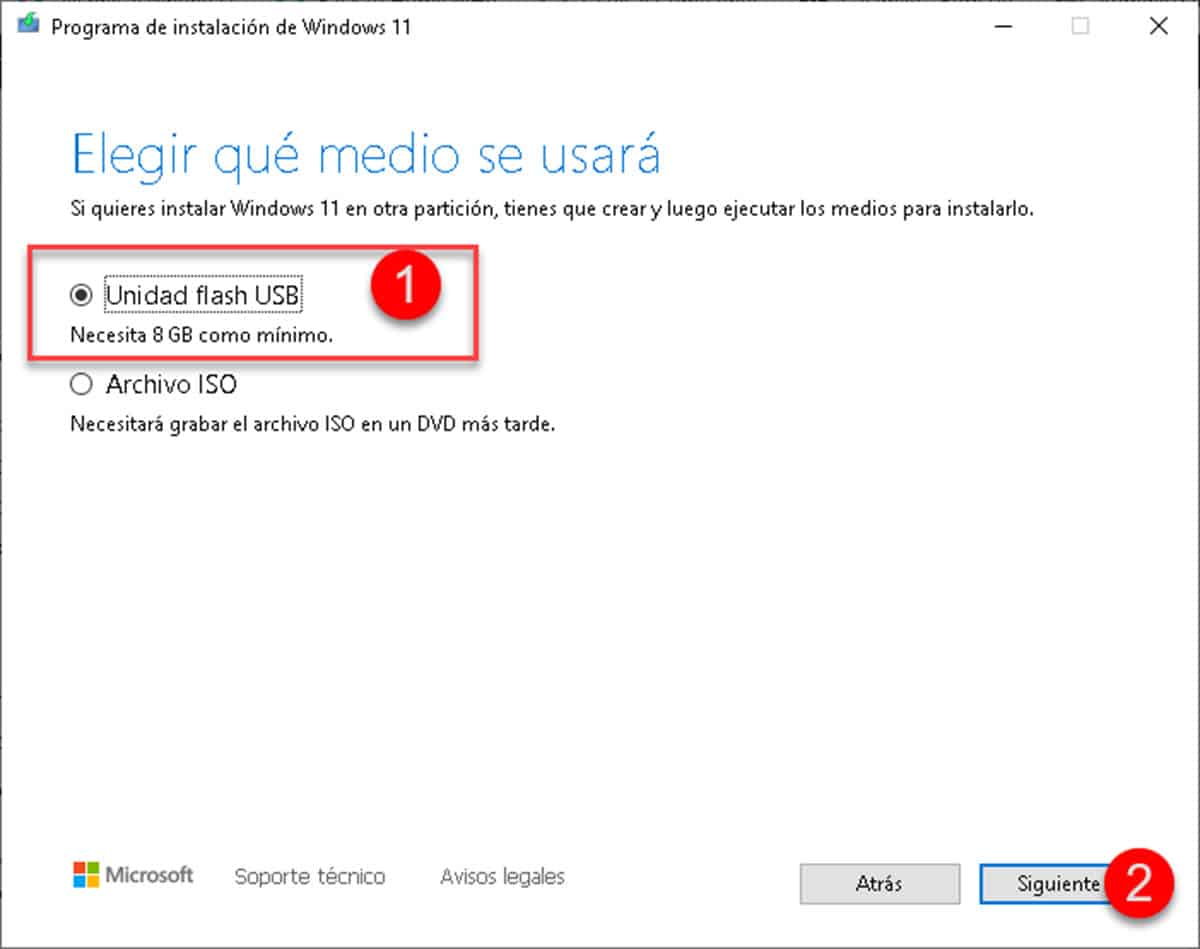
Select the storage unit in the list and click «Next» to start with the download of the operating system and its integration in the USB memory. Once the process is finished, you will only have to restart the computer from the USB memory to start the installation of Windows 11.
Creating an installation medium with Rufus

Another highly recommended alternative is to use the application Rufus. This utility has long been the jewel of technicians for everything related to installing operating systems, both Linux and Windows. In its most recent version, it incorporates the possibility of installing Windows 11 on an unsupported PC, automatically skipping the requirements check.
To use this method, you must follow this link y scroll to the bottom of the page where you are offered to download an ISO image. It should be noted that you can also obtain it from the Windows Media Creation Tool, selecting the “ISO File” option.
When you have the ISO image on your computer, follow this link to download Rufus. The application offers two options, one that you can install and another portable, choose the one that best suits your requirements.

Once you have downloaded it, run it and click on the “Select” button to choose the Windows 11 ISO image that you downloaded earlier.

Then, Let's go to the most important point, which is to enter the Image Options and choose "Extended Windows 11 Installation".
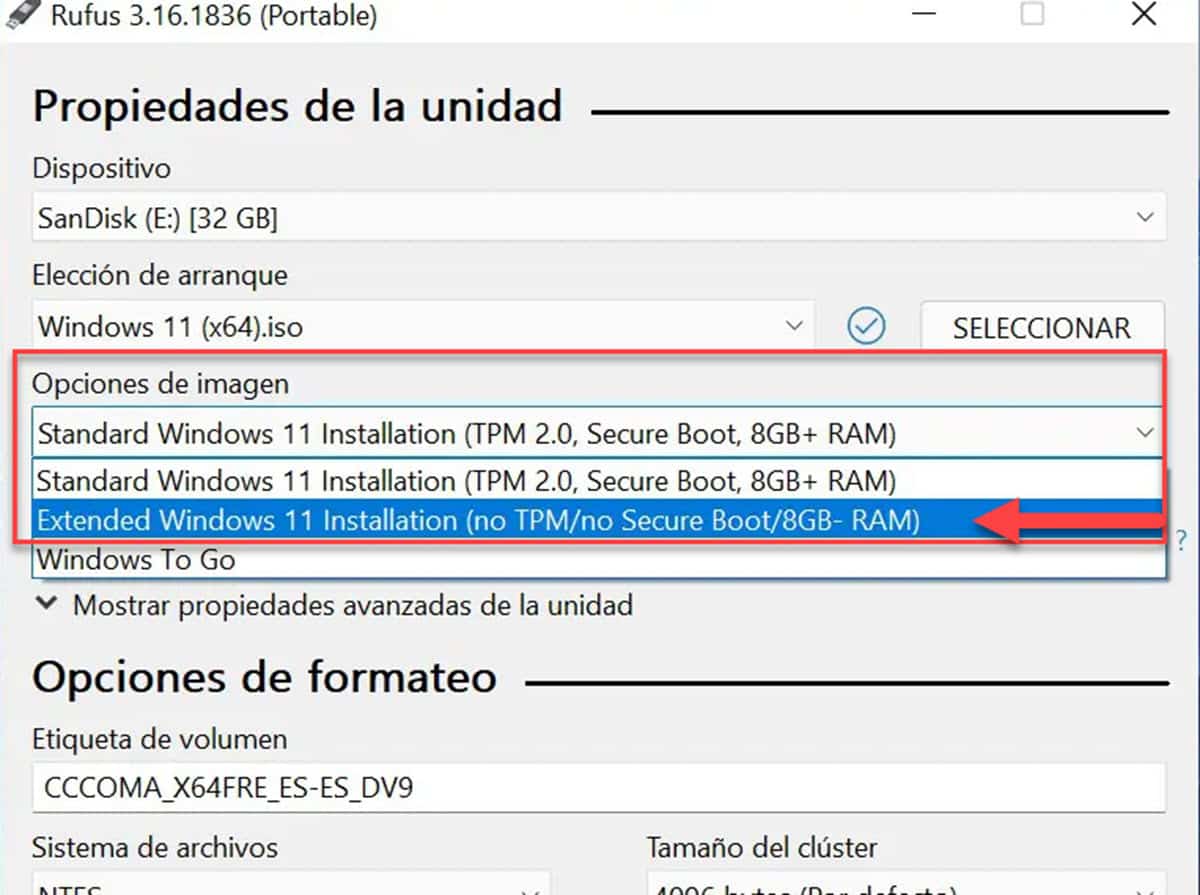
This is the function that Rufus offers to create an installation USB that is also capable of skipping Windows 11 verifications, so you can have it on non-compatible computers. Finally, click on the “Start” button to execute the creation of the bootable USB.
When finished, you will only have to start the computer from the USB memory and follow the steps of the installation of Windows 11.