
Microsoft Office is one of the most used programs by most Windows users. The firm's suite has evolved over time. We have seen how its interface has been modernized, in addition to having introduced a multitude of new options in it. What allows us to make better use, much more adapted to us, at all times.
In this case, what we are going to show you is the way in which you can make Microsoft Office will save all the documents you create in the same location. Something that can be useful if you want to have everything organized and want to save yourself the entire process of having to select a specific folder.
The process is very easy to achieve, thanks to the additional options that have been introduced in Office over time. So you won't have a problem if you want save all documents in the same folder on your Windows computer. Either something you do temporarily, if you are working on some projects or want to keep it permanently. What steps do we have to follow in this case?
The function that we are going to use in this specific case is the local save. For this, we have to proceed to configure it within Office, which is something very simple, as you will be able to see below. It is the function that allows us to save everything in a single folder.
Local saving in Office
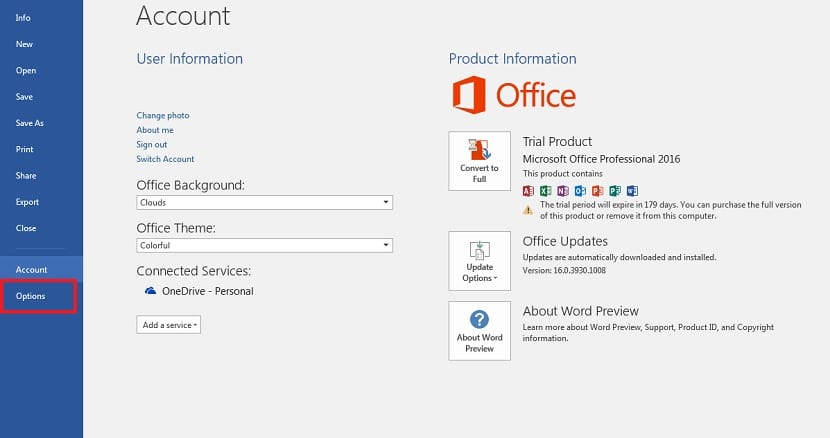
First you have to open one of the Office applications, like Word and create a blank document. Although if you want, you can also use an existing document, and open it. Both options are equally valid in this case. Once we have said document open, click on the file option that appears in the upper left part of the screen. A column will come out with a multitude of sections in it.
We have to enter the options section, which is located at the bottom of the list. This is the way we have to access application settings. This is where we are going to find the function that we have been talking about so far. Once clicked on options, a new window will appear on the screen.
In this new window, we look at the left side of it. There come a series of sections, of which the one we are interested in saving. Therefore, we click on it. In this way, all the options that refer to saving in Office will appear on the screen. Among these options that now appear in the save section, there is one that we must use.

This specific option it's called Save to PC by default. Next to it there is a box that allows us to mark it, something we must do so that it is officially activated. Once this is done, we can select the folder in which we want Office to save all the files we create. For this reason, just below the option you get an address bar, from which you will be able to select that folder in a simple way. We can choose any location on our computer for it. When we have done it, we simply have to give it to accept.
In this way, the changes that we have carried out the saving of Office. The next document that we are going to save from the suite will be saved in the folder we have just selected. If at any time you change your mind, you can remove this option again and choose the location where it will be saved depending on the document. You just have to uncheck the option to save by default, in the Office settings. What do you think of this function?