
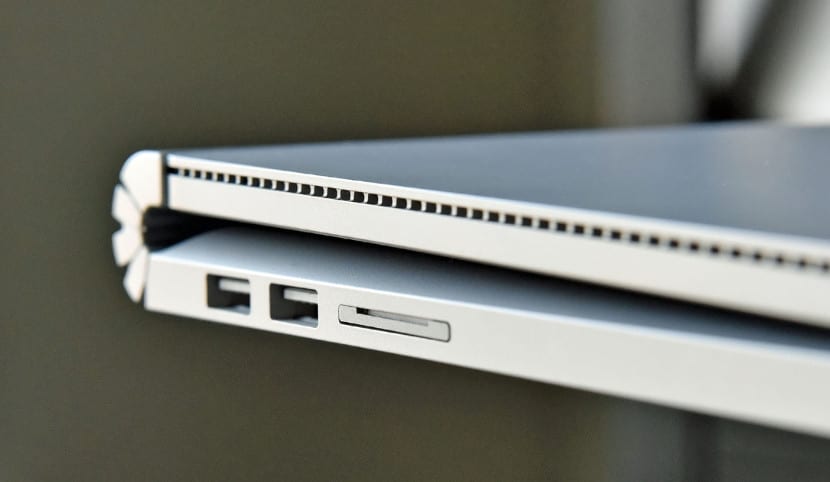
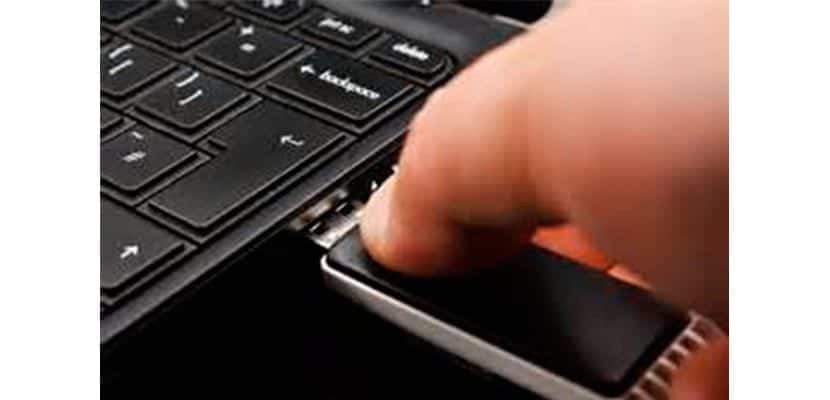
It is usual that at a certain moment we lend a USB to another person, so that they can download some documents that have been stored in it. Or do it with an SD card, so you can have the photos on it. In these cases, what we want is for that person to copy the files, but nothing else. We don't want you to be able to make modifications to anything. For this, we have a method.
Since there is the possibility of write-protect a USB or SD card. Which means that said person will not be able to do anything in terms of modifications to the device. The only thing you will be able to do is copy these files. So it is a system that we can take into account.
So this is a way to be able to share files with a certain level of protection. Preventing document changes from being made without your permission, something that has probably happened to someone on occasion. The steps to follow in this regard are very simple. So it won't cost you anything to add this protection to USB or an SD card.
In addition, this is something that we can do easily in all versions of Windows. The steps are the same in all of them. So that it doesn't matter if you have Windows 10 or Windows 7, you will have no problem doing this. Since the process has remained the same in this regard. We tell you below all the steps to follow:
Add write protection on USB or SD
The first thing we are going to have to do is connect the device in question to the computer. Either a USB or an SD card, we have to insert it into one of the ports on the computer for it. When we have done it, we open the file explorer of our computer. You then have to look at the left part of the browser, in the column that appears in that part. There you will be able to see that the device you have connected comes out.
Then, you have to right click with the mouse on the USB or the SD memory card that you have connected to the computer. A contextual menu will appear on the screen, in which we find a series of options. From the options on the screen, we have to click on the Properties. So that we can get into them.
Then the properties of this device are opened on the screen. We get a series of tabs in them, at the top. In this sense, the one that interests us is the first one that we find on the screen, what is security. Therefore, we click on it. Once inside this section, we have to click on the edit button, which we are going to see is located in the center of this window, below the box in it. So that we can go to the next step.
A new window opens, what is the Unit Permissions. In it we find the possibility of being able to determine the permissions that we want to give to this USB or SD card. Let's see that at the bottom of this window there is a list with permissions. Next to them there are two columns, which are those of accepting and denying. We have to look for the write permission in that list. Then, you have to check in the deny column. So this permission is not granted, which means that we are write-protecting the USB.
You just have to click on accept, to save the changes. In this way, we have already protected this USB against writing. If at a certain point we want to change this again, especially after we have left the USB in question to someone else, we only have to uncheck the deny column.