
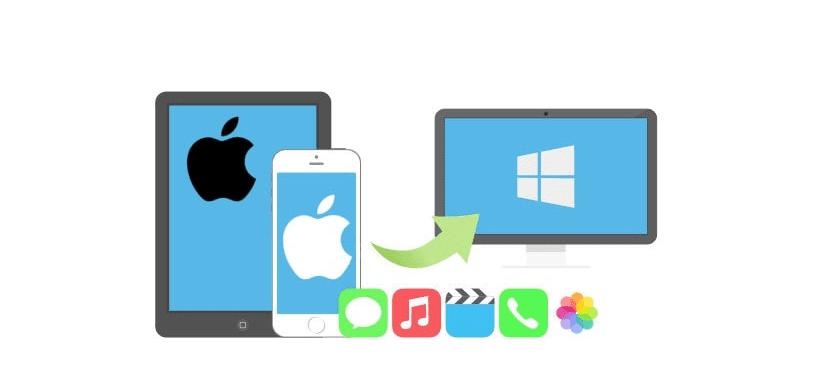
Many users have an iPhone today, from the various generations that Apple has released. One of its main features is the camera, thanks to which you can take great images and create unique memories. These photos that we have we must then save them on the computer, which in most cases usually has a version of Windows as the operating system.
Compatibility between Apple and Windows products is not always the best, but it is important to know how to transfer photos from iPhone to computer. Therefore, below we leave you the various ways that we have available to be able to carry this out.
Since the good part is that we have different methods to to be able to transfer these images that we have on the iPhone to our Windows computer. So that each user can select the one that is much more comfortable depending on their situation.
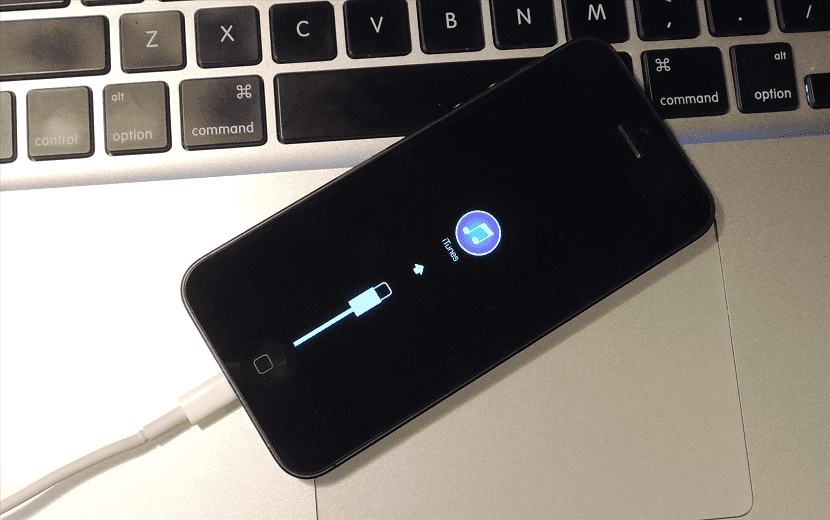
Connect using the Lightning cable
Windows computers usually treat the iPhone as an internal storage drive, as if it were any USB. Therefore, the process to transfer images to the computer It is the same as in the case that we make use of a normal and current USB. It does not have too many complications in this regard.
We must connect the phone to the computer using the Lightning cable. Then we open My PC and we have to look for the iPhone there, which will come up with the name of the phone or with the name of the device and ours. We double click on it and a few folders will appear on the screen, of which one should be DCIM, which is where the photos that we have taken with the phone's camera are saved.
We click on it and open it, inside we will have several additional folders. In these folders is where we find the photos. So that We only have to select the photos we want to copy to the computer and copy them as normal.
Use cloud services

The second way of copying photos is very versatile, and it also works with any operating system. So you can use it without problems with your Windows computer. In this case we are going to make use of cloud services. It can be Google Drive, Dropbox, or the Apple cloud. If you have an account on any of these platforms, the process will be very simple.
If you have an iCloud account, The process is very simple. You must register in your account on the platform, and you must pass the photos that you want to copy on it. So you select the photos and upload them to the cloud. You can then access the platform from your computer and you just have to download these photos that you have done with the iPhone.
In case you use Dropbox, you have several options available. We can do the same as before, upload the photos from the phone and then download them from the computer. Although if we want we have another system available. We can enable the photo sync function, available in the Dropbox app for iOS. Thus, then we can download them to our PC.
If we want to use Google services, we can use a couple of systems. Have the possibility of using Google Drive, in the same way as the previous cases. We upload the photos to the cloud from our iPhone and later download it from our computer.
In addition, we can make use of Google Photos. It is an application that we must install on both devices, and it has a sync function. In this way, once we have the application installed, we must wait for them to synchronize and thus we can have the photos on our PC in a matter of seconds. Very comfortable.
Use Microsoft Photos and iTunes
Users with a Windows 10 computer, the majority today, they have an application called Microsoft Photos available. Thanks to it we can store and import photos from our smartphones in a very simple way. The application must be downloaded to our computer and we must also have the most recent version of iTunes installed. Since it is the program with which the device will open.
Once we have both programs on the computer, we can start this process. We have to connect the iPhone to the PC and then we have to open Microsoft Photos. In the upper right corner we will see that there is a button called Import. Then, we must click on it.
Then we will get the photos that we have on the phone stored. What we have to do is select them all and click on continue. So we are going to proceed to copy these photos to our PC. And in a matter of seconds we will have the photos copied.
These are the three ways we currently have available to transfer the photos that we have stored on our iPhone to our Windows computer. We hope that all of them are useful to you.