
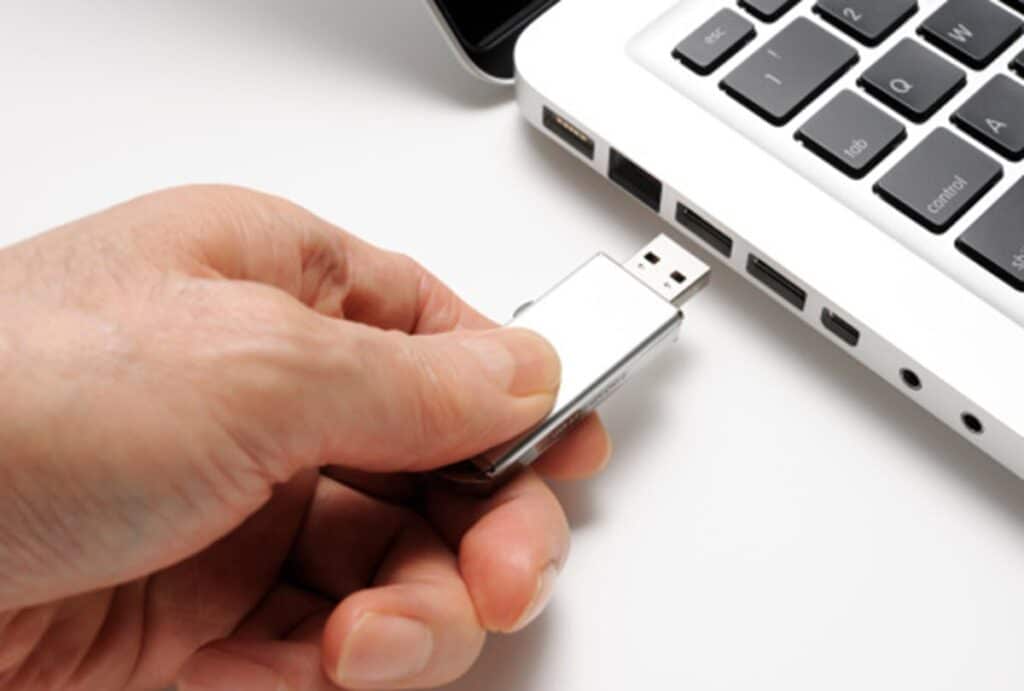
There are certain USB devices They come with a small write-protect tab. They are used, above all, to prevent the content of your files from being altered, preventing you from writing to them. From a security point of view, it is a very effective and reliable system. However, there may be times when we are interested unlock write protected usb. Here we will see how it is done.
In principle, this protection is a plus for the user. A way to make sure that neither we nor anyone else will be able to accidentally write on it. Each time it is attempted, a message will appear on the screen. "Write Protected Disk".
A warning before continuing: the procedure that we explain in this post requires making certain changes to the Windows registry. This means that if we make a mistake, there could be negative consequences for our operating system. Therefore, we only have to carry it out if we are sure that we know how to do it well, follow the script to the letter and not improvise.
Remove USB write protection step by step

This is the procedure that we must execute to unlock a write-protected USB correctly:
- First of all, you have to open the Windows start menu.
- There we write "Run" to open the application of the same name, on which we click.
- In the Windows launcher, we write regedit and click "Accept".*
- In the registry editor menu that appears on the screen, we must navigate following the following route: HKEY_LOCAL_MACHINE \ SYSTEM \ CurrentControlSet \ Control \ StorageDevicePolicies
- Next, in the box on the right we double click on WriteProtect, the value used to control writing to the USB.
- In the next screen that is displayed, we have to modify the value of the box Value Information, changing it from one to zero. This causes the protection to be disabled. then we press «OK» to save the changes. Finally, all that remains is to restart the computer.
(*) At this point, Windows asks us if we want to allow this application to make changes to the computer. If what we want is to change the parameters of the USB, we have to answer “yes”.
StorageDevicePolicies folder does not exist: Solution
If we cannot complete the process explained in the previous section because there is no StorageDevicePolicies folder, what we have to do is create it manually. To do this, we must do the following:
- We click on the folder "Control".
- In the menu that appears, we choose the option "New".
- Finally, we click on "Key code". Thus, we can name the new folder created StorageDevicePolicies.
Obviously, having just been created, the new StorageDevicePolicies folder is empty. To solve this issue, we have to follow these steps:
- In the panel on the right, we right-click and select the option "New".
- In the next menu, we choose «Value de DWORD (32 bits)», naming the value WriteProtect.
- Next, we click on WriteProtect and act as explained in the previous section, setting the Value Information box to zero.
- To finish, we press «OK» to accept.
Other methods to unlock a USB
Apart from the main method that we have detailed step by step, there are other ways to unlock a write-protected USB that can also be useful. We explain them below:
physical unlock
Some models of USB "skewers" have a physical switch whose function is none other than to block or release is a write protection system. Normally, it is a small and inconspicuous button. If the USB drive is locked, you will not be able to transfer data or perform any actions on it. To unlock it, you simply have to move the switch to the other position.
Run Diskpart
Diskpart is a command line program that comes installed by default in Windows. To use it, you have to do the following:
- We use the key combination "Windows + R" to open the command prompt.
- In the dialog box, we type diskpart and click "To accept".
- Then we write List Disc, to show all the disks connected to the computer, and select the one that corresponds to the USB. Then we press "Intro".
Turn off BitLocker
BitLocker is an encryption application built into Windows 10 that allows protect hard drive against a possible attempt to steal information. In the case of having BitLocker activated on our USB, we can deactivate it using a password or recovery key. This is how we should do it:
- We started the "File Browser" and look for the USB. If it is protected by Bitlocker, a lock will appear on the icon.
- Then we right-click and select “Manage BitLocker”, after which all storage units and their encryption status are displayed.
- Finally, to disable BitLocker, we right-click on the protected USB drive selecting the “Disable BitLocker” option by entering the password.
Format the USB drive
As a last resort, we always have the possibility of formatting the USB drive. A radical but effective solution.