
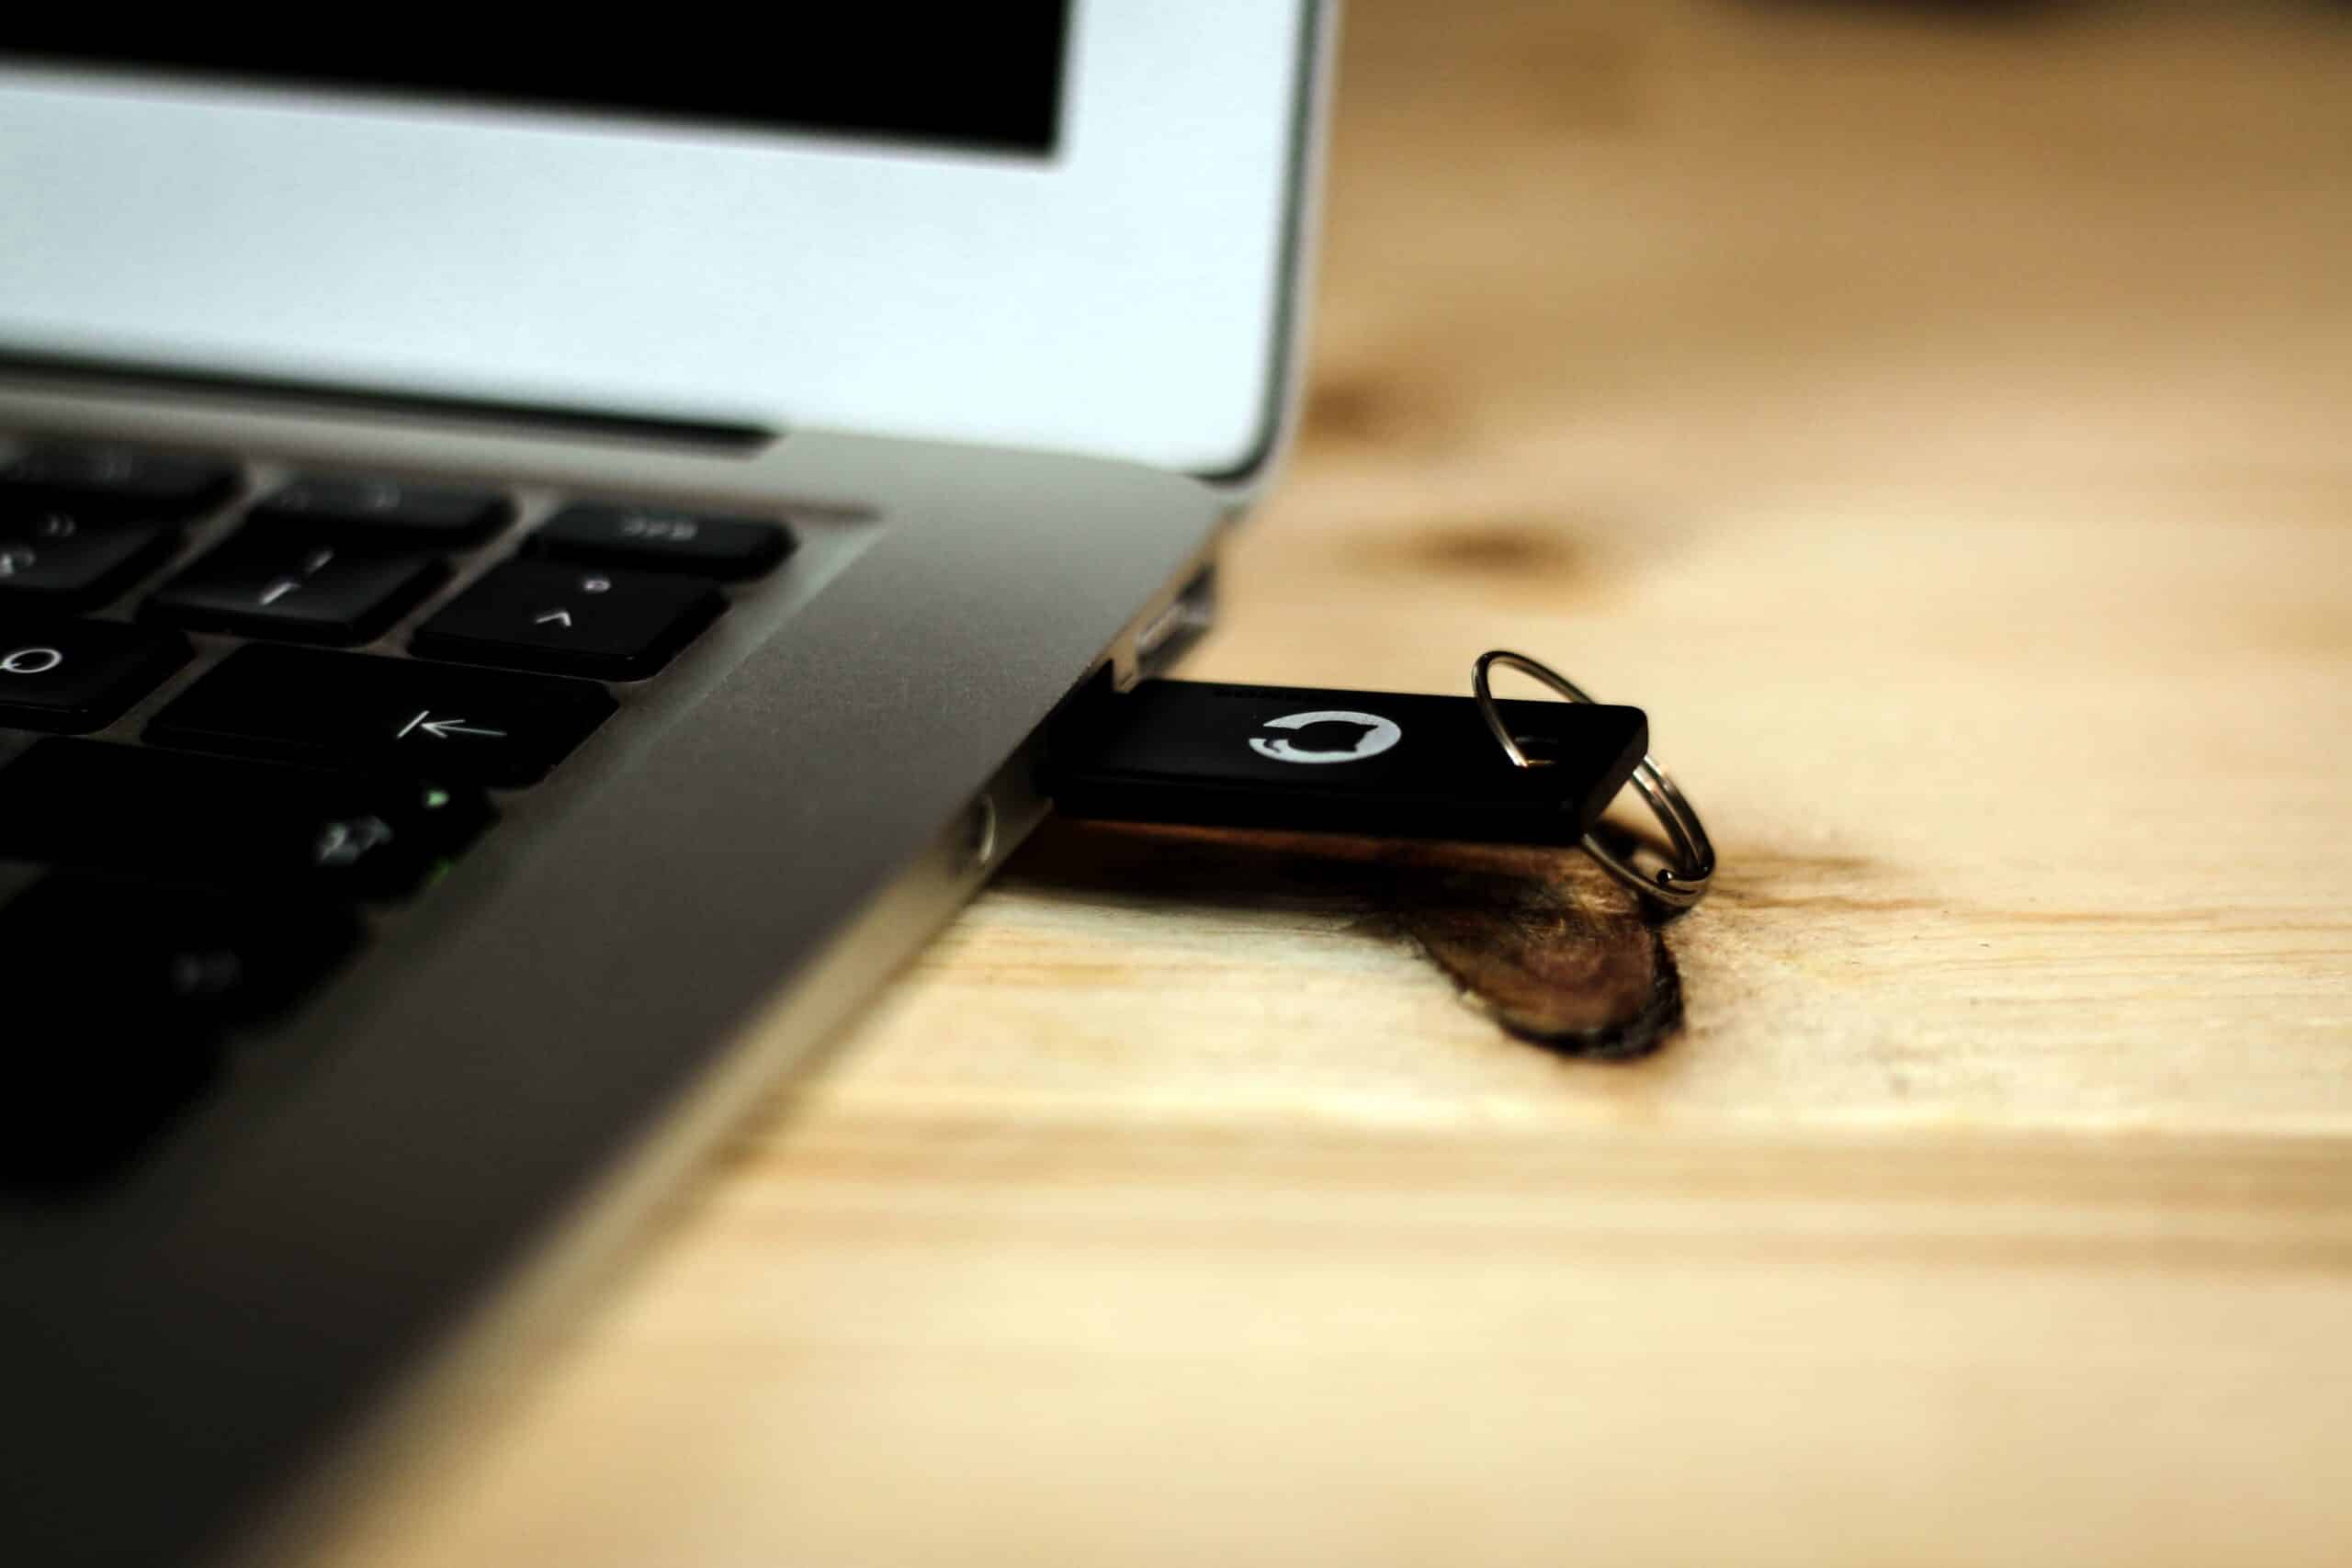
By default, when a removable drive is connected to a computer with Windows operating system, such as a USB flash drive, an external hard drive, an optical drive or the like, a small autoplay window is displayed, in which different actions appear that could be done with said drive, such as viewing the files it contains with the file explorer, opening a default program, or even not using any of them.
However, in the case that it is always to see the files it contains, that is, to show the specific unit in the file explorer, you have a small shortcut available that you can configure so that By default, when you connect an external drive in the future, it will open in the file explorer.
How to automatically open file explorer when connecting an external drive in Windows
In this case, the Windows operating system allows you to configure this manually, so that instead of having to select from the available options from the default list, file explorer opens automatically, which can save a lot of time.
To configure this, you will first need to access your device settings (You can find the access in the Start menu or by pressing Win + I). Once inside, in the main menu, you will have to select the option called "Devices", and, within the left side menu, you must choose "Auto Play". Then, you must locate within the options menu the section "Choose autoplay defaults".
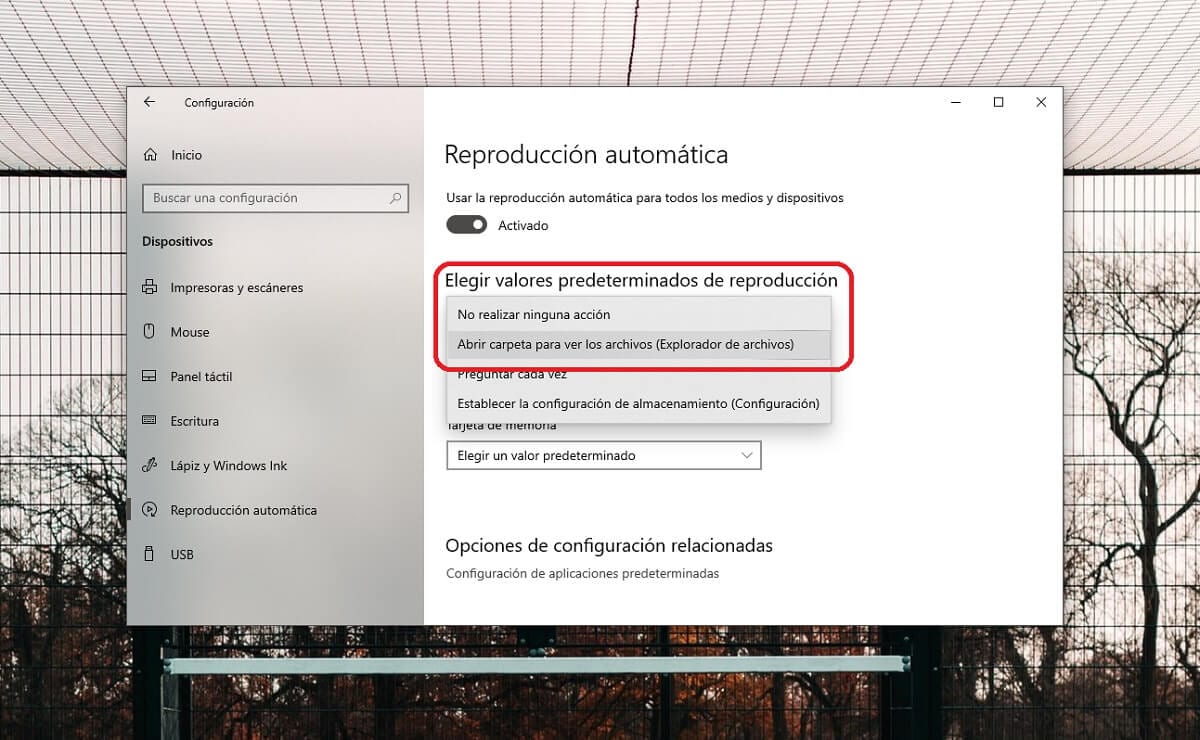
You should see the different external media that you can connect to your computer, which will vary depending on the hardware of the same. Generally, any external physical media that is connected to the USB ports of the computer or similar is recognized as a removable drive, something that you should take into account. Then, you just have to select the option that interests you and then, In the drop-down, check "Open folder to view files (File Explorer)".