It is true that most modern laptops no longer have a built-in CD or DVD-ROM drive. Times have changed and the digital supports of a few decades ago have already become obsolete. However, it is possible that, for whatever reason, we still use these types of devices and still occasionally encounter the problem of not being able to open the tray by pressing the eject button on the drive. Here we bring some solutions for eject a disc from the CD tray in Windows 10.
Anyone who has used CDs or DVDs on computers knows what we are talking about. Readers used to be built into the computer structure (although there was also the possibility of using external devices) and could be opened and closed using a manual button. But, what to do when the button stuck or not working properly?
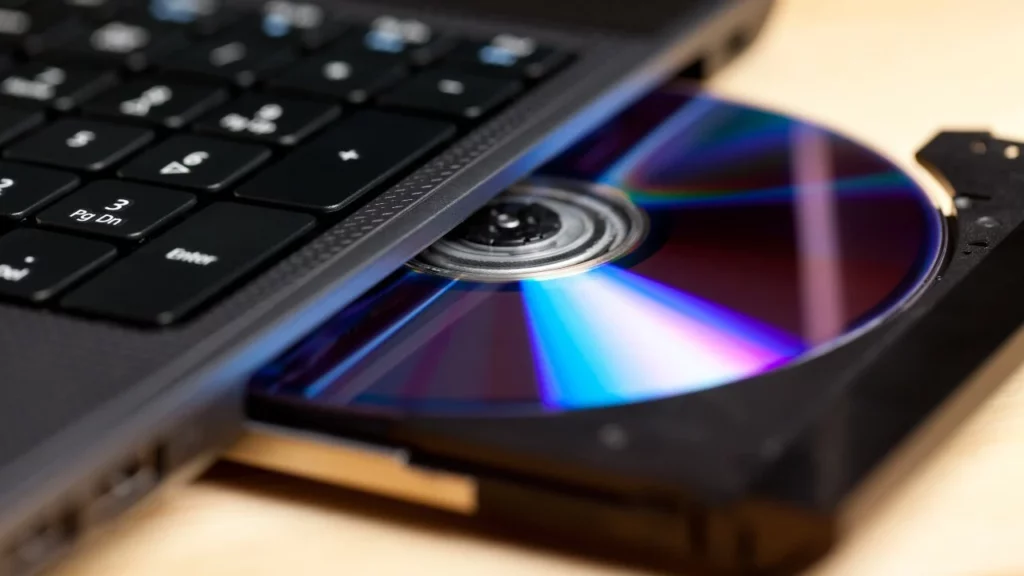
In general, all CD or DVD-ROM drives have a physical eject button that can be used to open or close the tray. This is usually located next to the door of the tray itself, marked with an icon of an upward-pointing triangle and a horizontal line just below. You just have to press on it, sometimes with a little more insistence, to activate the closing or opening. If it doesn't work, you have to try other means.
Before trying any method, we have to make sure that that our computer is not using any application or file contained in that CD or DVD drive. If so, it will often be enough to stop or close that application to trigger the eject mechanism again.
From windows
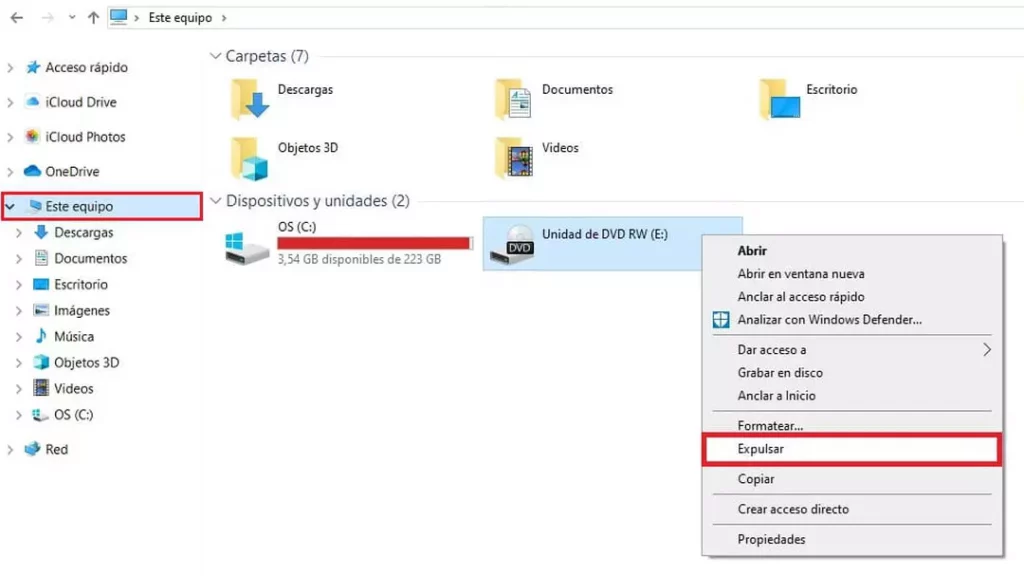
There is an internal Windows method to open Windows 10 CD tray when the manual method is not responding. Just press the Win+E keys, the same combination we used to open File Explorer. On the other hand, it is also possible to open File Explorer by right-clicking on the “Start” menu and selecting File Explorer. When you do this, a list of drives appears in the left pane, also the one for the CD or DVD-ROM device.
Once we have identified the unit, we click on it with the right mouse button. In the list of options that is displayed below, you must select the one of "Expel". Sometimes, for the method to take effect, it is necessary to restart the computer.
Unclog the tray
If the "Windows method" did not work, it is very likely that there has been a jam in the opening and closing mechanism of the tray. If so, you have to resort to "hand method" for which a little skill and a very fine tool are required. A pin or paper clip They can be used perfectly for this task.
Important: before proceeding with this method, it is necessary to turn off the computer and even disconnect the power cables in case of a desktop PC. This is an elementary security issue. Otherwise, we could damage the unit.
The next step is to locate a small hole next to the opening and closing door on the CD or DVD-ROM drive. is the call "manual release hole", round and tiny, but not so narrow that our fine tool doesn't fit*. All you have to do is insert the clip or the needle into it to trigger the opening mechanism.
Although it is a simple operation, it should be carried out carefully, so as not to break anything. Normally, we will notice a slight resistance when inserting, this will mean that we have reached the top on which we must press. When in doubt, it will always be better not force.
Even if the pressure has been successful and the tray opens, it may not open completely. In this case, we will gently pull (sometimes, the jam occurs because the disc has moved inside the tray) to release the tray and remove it.
(*) In some PC models this hole is not visible. To find it, you have to first remove the front panel. When in doubt, it is preferable to consult the instruction manual of our equipment.
Intervene in the unit (on a desktop PC)
If the CD tray jam in Windows 10 has taken place on a desktop PC, we can solve it by directly intervening in the CD or DVD-ROM drive itself. Before, of course, we will make sure that the equipment is turned off and the cables are disconnected.
First of all, we are going to have to remove the side panel of the computer in order to access the reader. Normally, these panels are attached with small thumb screws, so we will have to use a suitable screwdriver.
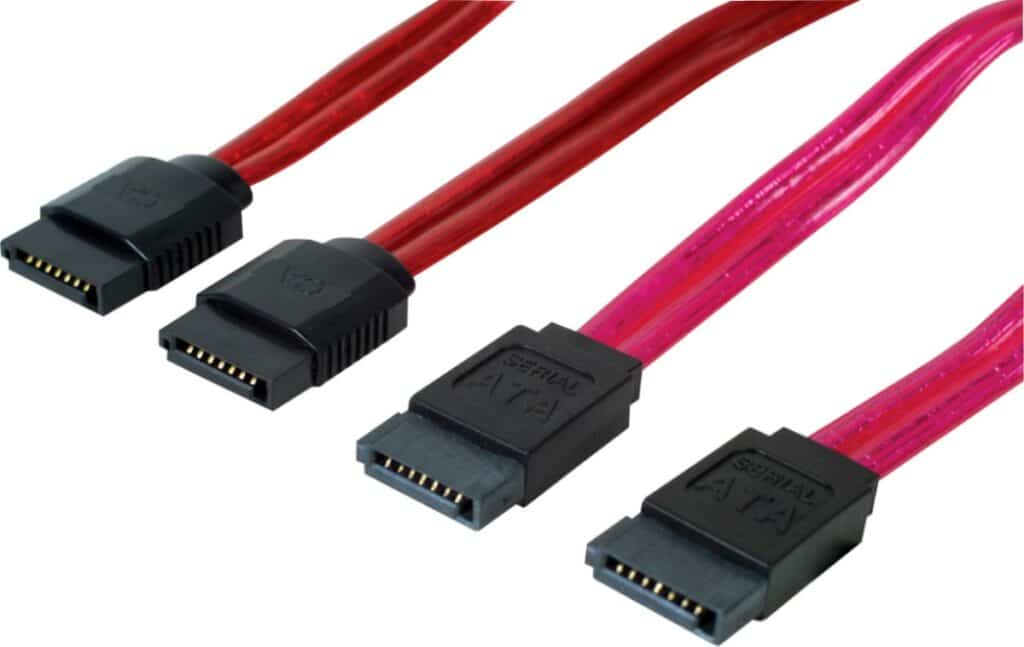
Once the panel is removed, We located the unit. It is easy to recognize, as it is made of plastic and has four attached cables. Sometimes the problem is solved by connecting the power cable that has come loose. If not, you have to try another cable. Simple as that.